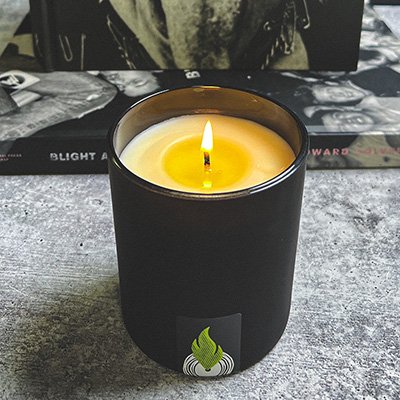
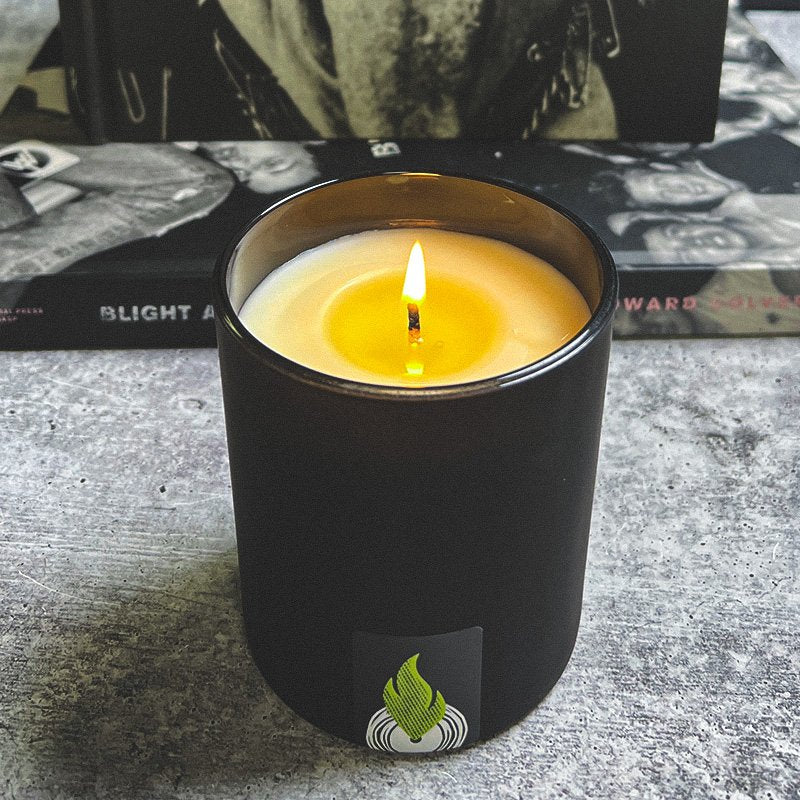
The candles smell amazing and the packaging is super!! Love that each candle comes with a pack of matches. Best candles out there!
Janet! Thanks for your awesome review! Our Saturday Night candle really is like a Love's Baby Soft + Grape Lip Smacker mashup, right? Total memory lane vibes. We're stoked that you love our candles and packaging. Your support and enthusiasm mean the world to us. You rock!
Not sure how I stumbled across Big Hair - but I am glad I did. I am on my second candle and thinking about the third. The floral scent is light - not weak - but not artificial. I have found it traveling from room to room and that is not cool. I have told them all many times - it stays with me. Sonicglow are the only candles that get swiped from our room. That says a lot.
Hey Laura! Thanks for your awesome review! Sounds like Big Hair is pretty popular in your house, even if it’s turning into a bit of a hide and seek game... your story about the candle-snatching antics really made us laugh and feel super proud that our scents are stirring up some fun competition at home
This candle is so amazing and lasted for an entire month. All I had to do was take off the lid and the great scent fills the entire room! I have very stinky cats and this candle made my living room smell like a great night on pacific beach! 10/10 would def recommend! As with all the other candles, the packaging is amazing and i love the aesthetic!
Hey there! Happy to hear Pacific Beach is hitting all the right notes for you. It’s wild how a scent can transform a room (stinky cats and all ) into a beachy paradise! We're all about capturing those perfect moments and bringing them to life, and we’re thrilled you're digging the packaging too. Thanks for the awesome review!
I love the packaging! The candles arrived without any damage and it was fun to open each candle. You think of everything, down to the matches located in each candle package! The scent of the candle brought me back to my 11-year old self, trying to perfect my rollerskating skills at our local rink. And, yes, the Bay City Rollers' song, Saturday Night, was always featured! Oops, I think I gave away my age! Anyway, the hint of grape lip gloss and Love's Baby Soft is definitely there. Thanks so much for creating a candle that brings a huge smile remembering friends and good times from years ago!
Cathy… love it! So glad to hear that Saturday Night unwrapped a wave of nostalgia for you! That’s what inspired us to bottle up those memories of Grape Lip Smackers, Love’s Baby Soft and roller rink adventures from our youth. Thanks for sharing your sweet memories with us and for your awesome review!
Sonicglow candles smell so good! Like sitting at Ricks cafe. I can smell the Caribbean ocean now! Sun is shining roots natty 🤙🕯️high quality products highly recommend
Hey Kim! Love that Seven Mile takes you straight back to Rick's Cafe and those chill Caribbean vibes ☀️ It’s awesome that we could capture a slice of Jamaica for you. Thanks for the awesome review – means the world, especially coming from a seasoned traveler like you!


